Easier to Make an Installation for Ceiling Fans
So it seems that you have finally made up your mind regarding which celling fan will go where in your beautiful home. Are you wondering how to go about the procedures of getting this huge piece of modernization attached to your ceiling? Or perhaps you are stuck deciding where to start assembling this simple yet amazing invention of a human kind?
It seems that you have ended up on the right course as hereby you are to receive proper step by step instruction as to how you can install your ceiling fan. The instructions would guide you in a manner that any lay man with no knowledge of installing ceiling fans whatsoever would feel as professional ceiling fan installer.
What you need to understand before commencing with the procedure that installing a ceiling fan is quite simple and easy if you follow the steps. Within no time you could sit back and enjoy the enhanced breeze.
However before you jump to the instruction t is prior to make sure that while you follow the instructions you are at no risk at all. By which it is meant that your life is safe from any mishaps or accidents. For the purpose of your safety you need to check the following:
Weak ceilings
This should have been checked and decided before you went to buy yourself a brand new ceiling fan. It never too late though. Before you decide which place to select, you ought to check whether your ceiling are capable to support the suspension of the weight of you ceiling fan. If not you would require to fix your ceiling before installation of fan.
Live wiring
Before you plan to start installation of your ceiling fans it is recommended that you should shut the main power source of your house. This is necessary for you to avoid or become a conductor for the electric to pass thigh and burn you alive in the process. So beware of a live before you proceed.
With safety being checked now it is time for you to pull the covers and read the instructions given below to finally start with the installation of your ceiling fan. Here are the simple steps and quickly.

Source: www.delmarfans.com
11 Steps for installing a ceiling fan
 Step1: Necessary tools
Having the right set of tools for the right kind of work is necessary to ensure precision, safety and quality work. The key to select the right nature of tools as well as the size of tools depends upon the type of ceiling fan you have bought. Dive into your tool box and select the appropriate tools for nut, bolt and wiring.
Step 2: Wiring
The next thing you should worry about is the live wires. Before you put your hand into the work of installation, you need to make sure that there are no live wires. Also check you fans’ manual as to be sure of that how many wires are there and where would they be connected with.
See Ceiling Fan Select ‘s selection for wiring your ceiling fan easy way
Step 3: Removing light fixture
Next is the real practical work. Once you have made sure there are no live wires running in your ceiling, you need to remove the old light fixture and resize the space or the fixture according to the size of your ceiling fan box.
Step 4: Cut once measure twice
Once you are done with the selection of tools, you need to be very careful while measuring the wires and cutting or drilling the right size of holes and wires. For if you make a mistake there it can not only cause your fittings to be extremely dangerous but also will ruin your ceiling. So better to measure the lengths and gauges twice and cutting once.
Step 5: Installing electric box
After removing thee fixture you need to install the electric box that came along with the ceiling fan of yours. If it is not assembled here it is how you would do it. You would need a metal brace that has to be installed between the joists. In most cases, the canopy of the fan will cover any holes that are drilled into the ceiling.
Step 6: Installing u bolt
The U-bolt has to go over the brace bar as well as through the bottom of fixture box and connector plate. Run the wire into the mounting box of the fixture. Make sure the surface of the box is flush with the ceiling.
Step 7: Positing the box in ceiling
The bars that are holding the mounting box are then twisted to prolong the braces.
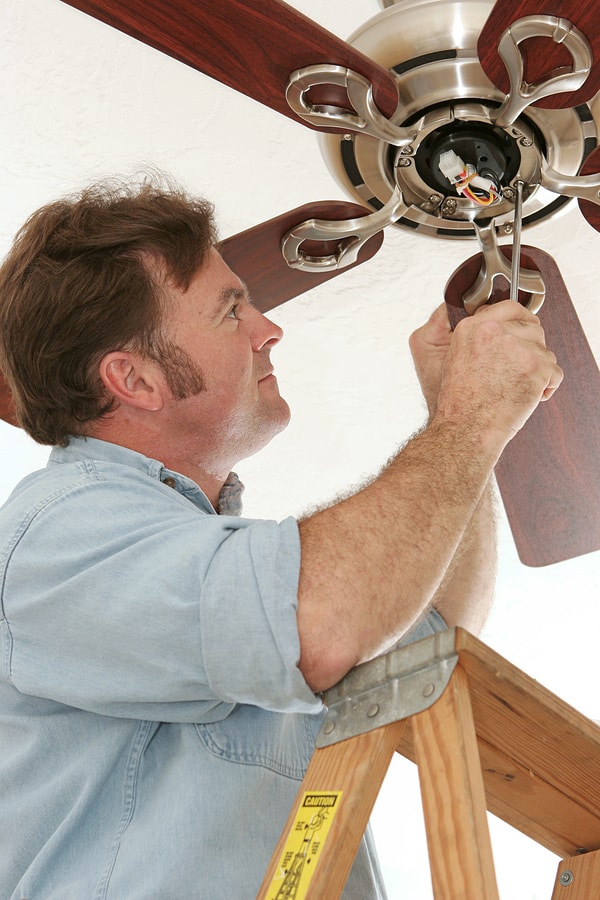
Step 8: Assembling the fan
You are almost done with your installation. Only that the last main part of your installation is left to be done with. Open the box of you veiling fan and read the manual for instructions to assemble the ceiling fan. Different companies and different type of fans have slightly changed assembling procedures. Therefore it is recommended that you hold read the manual
Step 9: Attaching the fan to the ceiling fixture
After you have assembled the fan, comprehend the wirings and attach them accordingly to the ceiling fixture in proper manner.
Step 10: Turn on the power
Before you turn on the power is sure of the wiring. Make sure you have attached the correct wire of the fan to the ceiling fixture. once checked and all are at their respective places you are good to go and turn on the power.
Step 11: Step back and observe
While you have turned on the power it is recommended that you step back and observe the functionality of your ceiling fans. In case there may occur short circuit or some other malfunctioning such as loose nuts etc.