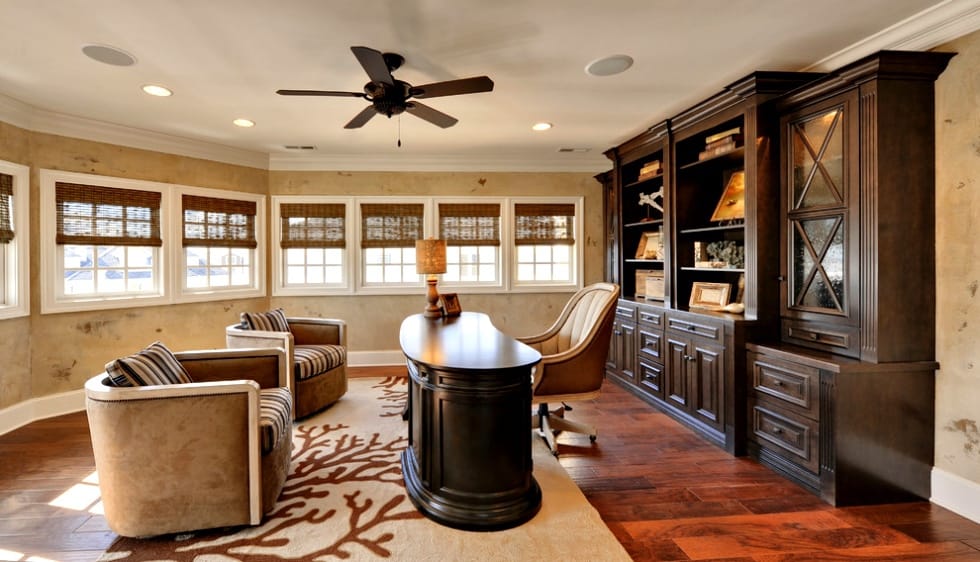
Simple Ways to Make Your Ceiling Fans Look Better
You can call the ceiling fans “Poor”, not because they operate poorly (which they don’t) but because of the fact that they’ve been the most overlooked appliance in the home. People love to hate them due to their construction.
No matter how cool or modern they are, they don’t match most home-themes. It’s fair enough to say, we don’t have ceiling fans because of the style, we have them because we need them, especially during hot summer.
You’d definitely prefer the look of that ugly ceiling fan rotating smoothly on your head over the pool of your own sweat, don’t you? Anyhow, this post talks about making your ceiling fan more fashionable and cool. Given below are few creative ways to turn a ceiling fan into something more than reasonable.
Make Your Ceiling Fan Attractive

If you have a formal office room where creativity is least appreciated, don’t apply any of these techniques there. It’s actually a fun fix for bedrooms and indoor places where you can spend some time relaxing and have fun. So, try some of the suggestions listed below and see if you hate your ceiling fan a little less than before.
Things Required
You need materials, such as:
- Spray paint
- Washi tape
- Duct tape
- Light bulbs, and
- Latex paint
You will need these tools in the process:
- Foam craft brush
- Scissors, and
- Screwdriver
11 Steps to Decorate Your Ceiling Fan
Step 1: Switch of the power before disassembling your ceiling fan or any part of it.
Step 2: Take a close look at your ceiling fan. You’ve probably seen it hundred times before, but presently, you need to observe the assembly. Are there any parts that can be taken off without causing any dysfunction, and make it look less ugly? You may have some parts.
Things that can make your ceiling fan look ugly
Well, if I talk about mine, it’s in a low-ceiling room. It had a giant globe attached to the base that caused all sorts of troubles for tall people. I inspected it and found that it’s just a decorative item. So I removed it from the fan base.
Here, before installing a fan, it’s very important to ask yourself, What Size Ceiling Fan Do I Need? Otherwise, you’ll be facing the same problem that I faced.
Step 3: Every part of your ceiling fan is attached by means of screws. So, start removing the things by taking off the screws. Rotate the screwdriver in counterclockwise motion.
Step 4: Glass globes can really irritate anyone who has the same taste as I do. You might be thinking why they’re hanging with your ceiling fan at the first place. Well, there’s no harm to remove them anyways.
Step 5: You may want to replace the glass globe with something trendy. If you do, then you can think about “lampshade kit”. It comes with covered and diffused bottom and offers softer light.
Step 6: Now, detach the fan blades and clean them with a good material, chemical, water or whatever you have at your dispense. We are going to have play with them in a little while. For now, we have to work with the free space to fix those lights.
Step 7: After fixing the light, see to it if they can rotate. You can create a beautiful indoor atmosphere by rotating the light fixtures to different angles. That’ll make your fan less attention-grabbing.
- Alternatively, in a formal place where you have limited space for fun, you can paint the entire ceiling fan with the matching color of the ceiling. That will make them draw less attention. Or if you’re to select a ceiling fan for your office, make sure it has the same color or nearly the same color as your room ceiling.
Step 8: If you’ve rented a room and cannot make permanent changes to the ceiling fan, take some colorful washi tapes and duct tapes to decorate it temporarily. Washi tapes are light and they do not affect the blade finish if you remove them.
On the other hand, duct tapes are heavier. So, use duct tape wisely on the fan blades; otherwise, the fan could lose its balance. When it comes to tapes, you have a lot of choices.
- You can stick tapes with chevron stripe pattern
- You can use a removable wallpaper or a contact paper
Whether to cover the entire fan with tapes, or to stick just a few stripes, is your own decision.
How to cover the fan blade with tapes
- Remove dust and debris from the blade surface with the help of damp cloth
- Decide about the color of the spray to paint the fan bracket and blades
- Give these parts at least two coats of paint
- Allow them to dry before you apply other decorative items
- Wrap the tape around the edges of the fan blade and give them smooth and clean finish
Step 9: Screw the bracket and the fan blades back to their original places. After screwing, apply the same paint on to the screws that you used for the fan blades. You can use a cotton swab to paint them clean.
Step 10: Moving towards the end, you need to replace glass shades and fix the light bulbs
Step 11: If you have painted the fan housing, you may want to replace the chain with the matching colored chain. Or you can simple attach a new chain by snipping some part of the old chain.
Conclusion
The whole Ceiling Fan Remodeling thing takes time and effort, but it’s no short of fun and creativity. Plus, you can skip or add steps in the process and get a stylish ceiling fan without spending hundreds of bucks.
