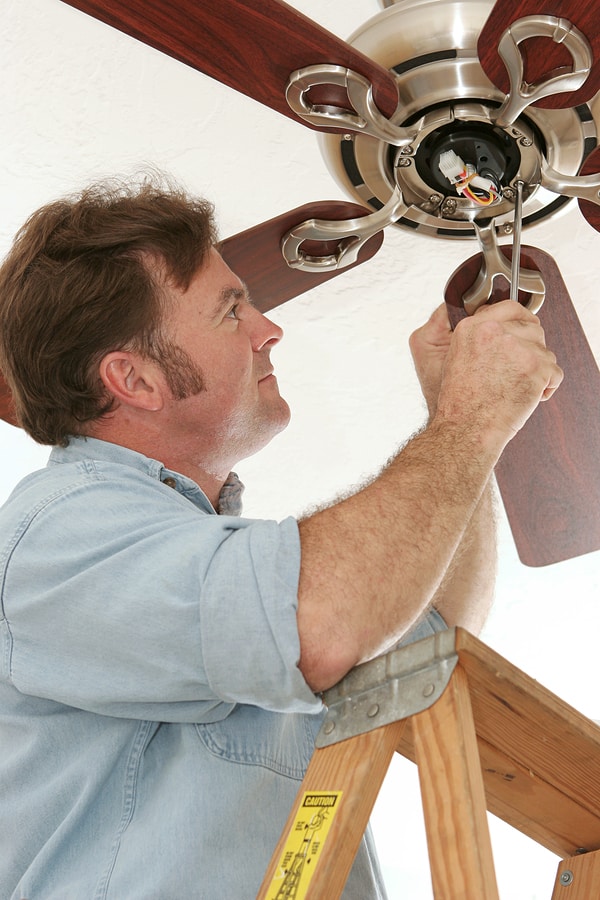
Simple DIY Steps to Repair a Ceiling Fan
Has your ceiling fan stopped working? Is it wobbling or making humming sound? Well, that can happen occasionally. If you’re thinking you should call the repair guy to fix the problem and consume your precious time and money, may be, you should do the job all by yourself.
You may be dealing with any of these issues right now:
- Your ceiling fan doesn’t rotate
- It’s making a humming sound, or
- It’s wobbling
In this post, you will learn how to deal with these issues. So let’s get started:
#1. How to Fix a Fan That Hums

Install an anti-hum control compatible with your fan motor (rated motor). Make sure, the anti-hum control should have a similar or higher ampere rating than the requirements of your ceiling fan. If you have multiple ceiling fans or a fan with lights, there are special controls available in the market.
Tools needed
You’ll need the following tools:
- Voltage tester
- Pliers
- Screw driver
- Wire nut
- New control with anti-hum feature
Steps
- Switch off the ceiling fan.
- Turn of the power from the circuit breaker or fuse box leading to the fan.
- Remove the switch and the faceplate. Verify that the wires of the ceiling fan are not charged, using the voltage tester.
- With the help of pliers, disconnect the fan wires from the switch.
- In the electrical box, straighten the ends of the wires using pliers, and join them with the wires of anti-hum control.
- Place the wire nuts
- Attach the anti-hum control to the electrical box using screws
- Fix the faceplate back to its place
- Now, turn on the power and switch on the fan.
#2. How to Fix a Fan That Wobbles
Wobbling in a ceiling fan is mainly caused by the improper balancing. The issue is by no means ignorable, because it can cause a great damage to the motor and the wiring as well. A wobbling may occur because of the following
- Dirt and dust particles
- Uneven fan blades,
- Warped blades,
- Problem with the outlet box
- Inappropriate outlet box that cannot withstand the weight of your fan
You may want to learn how to balance a ceiling fan in great depth, in order to understand the real cause of wobbling.
Tools needed
- Screw driver
- Measuring tape
Steps
- Loosen the screws of canopy cover attached with the ceiling and slide it down to expose the mounting bracket.
- There is an outlet box with the mounting bracket. Check if the screws of the mounting bracket and the outlet box are not fixed properly. The metal box should be firmly attached with the mounting bracket via lag screws or U-shaped bolts.
- Check the label on the outlet box, whether it’s rated for your ceiling fan.
- Check whether the ceiling fan has a wrong box under-supporting it. If this is the problem, call the electrician.
- Check if the support bracket is firmly fixed.
- Inspect the downrod and see if the screws and pins are properly in place. Also, make sure that the ball joint at the top end of the rod must be firmly engaged with the support bracket.
- Check the fan blades and see if they’re properly attached to the blade holders. Then check the motor housing where fan holders must be properly fixed. Adjust the blade holders present inside the bracket of the motor housing. Gently bend them by pressing up or down for adjustment.
- Check vertical distance from the floor to the fan blades and make sure each of them maintains similar distance from the floor. Otherwise, adjust the blade holders in above mentioned manner.
#3. How to Replace a Flywheel
Every ceiling fan has a rubber disc called flywheel, that attaches the fan blades to the fan motor’s shaft. The rubber material reduces vibration in fan blades, but it can break or crack with time. If you see that your ceiling fan doesn’t rotate, yet the motor hums, the flywheel must have broken or damaged.
This component of your ceiling fan must be replaced instead of repaired. Flywheels used in best rated ceiling fans are inexpensive and they’re readily available in the market. Buy the replacement flywheel according to the model and make of your ceiling fan.
If you cannot determine your ceiling fan’s model, remove the flywheel and note down following information:
- Inside diameter
- Outside diameter
- Locations of screw holes
- Locations of brackets
- Spacing between screw holes and bracket
In order to remove the flywheel from the ceiling fan, you need to dissemble it. Follow these steps to replace the flywheel.
Things needed
- New flywheel
- Screwdriver
- Pliers
- Wrench
- Marker
Steps
- Switch off the fan’s power and turn off the power from the circuit breaker as well.
- Detach the fan’s blades using screw driver
- Open the switch housing
- Note down the switches and controls inside the switch housing before you detach them
- Inspect the wires that are attached to the motor and note down their location. Then disconnect these wires.
- With the help of screw driver, pliers or wrench remove the switch housing.
- Note down the exact location and placement of the broken/damaged flywheel on the shaft. You can use a marker to mark its location on the shaft.
- Place the new flywheel at the exact position of the old one, making sure the positions of wires and holes.
- Tighten the screws and reconnect the parts that have been removed earlier.
- Reconnect all the wires, switches and controls with the motor and re-assemble the housing.
- Attach the fan blades back to their original location.
You can always contact a ceiling fan specialist or electrician if the repair work appears to be too difficult to handle.